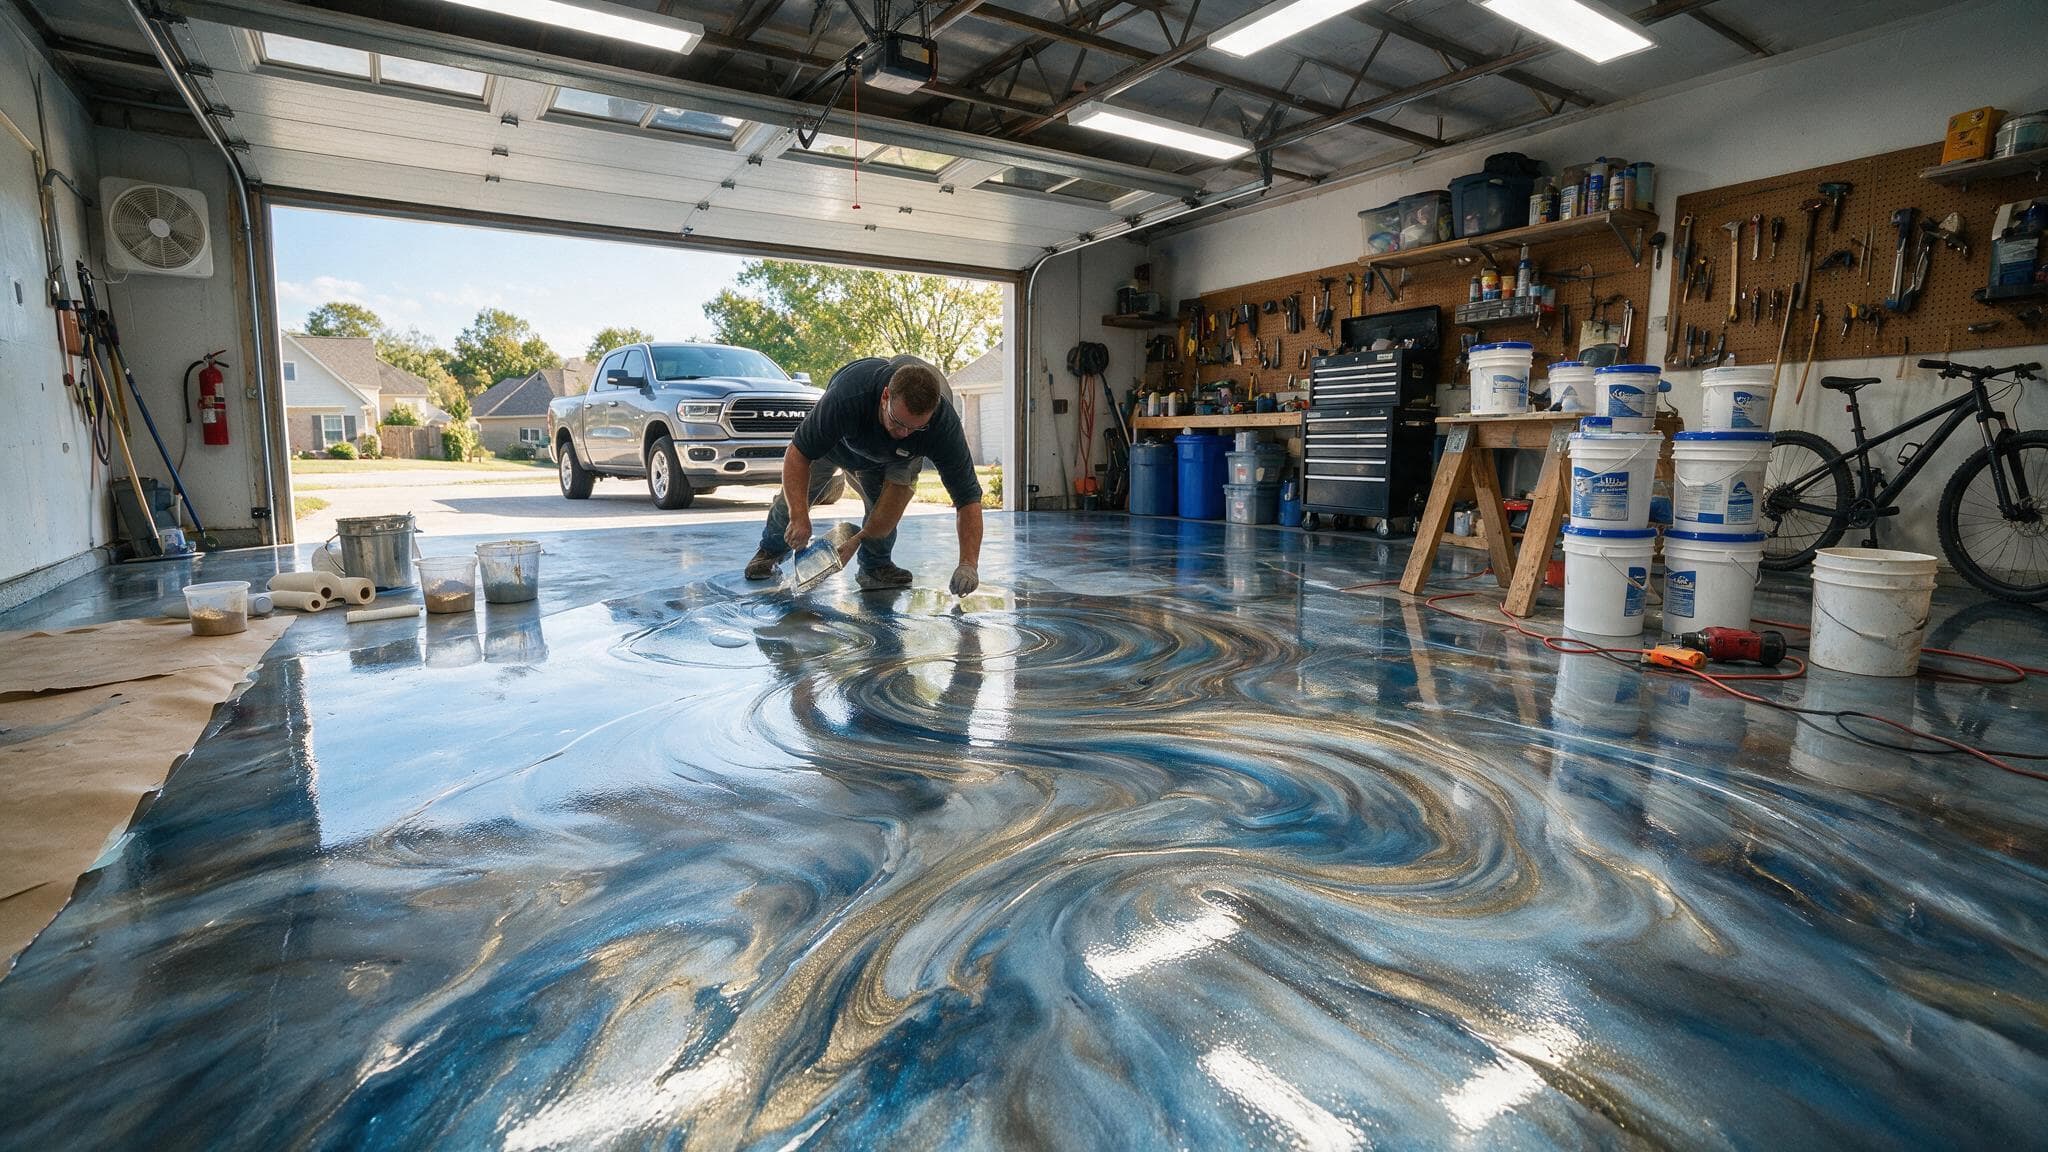
A professional garage floor coating is eleven steps across one to two days, and only three of them involve applying coating. The rest is preparation — grinding, moisture testing, crack repair, and vacuuming. That ratio is the entire difference between a floor that lasts fifteen years and a DIY kit that peels in two.
The Eleven Steps
Clear and mask the space
30 minutes
Everything comes out of the garage — vehicles, shelving contents, anything stored against the walls. Baseboards, door frames, and the bottom of drywall are masked to protect them from grinding dust and coating splatter. We also confirm access to an exterior outlet and a hose bib before anything else starts.
Why it matters: Sounds trivial, but it is the stage homeowners can actually influence. A garage emptied the night before saves 30–45 minutes that goes into prep instead.
Diamond grind the slab
1.5–2.5 hours
Vacuum-shrouded diamond grinders take the concrete down to a clean, open profile — roughly a CSP 2–3 texture. This removes the weak laitance layer at the surface, plus any old sealer, paint, or coating residue, and opens the pore structure so resin can penetrate rather than sit on top.
Why it matters: This is the step that decides whether your floor lasts 15 years or 2. There is no chemical substitute. Acid etching, which is what every consumer kit supplies, cannot produce this profile on a hard-troweled garage slab.
Test the slab for moisture
24 hours (done at estimate)
Relative humidity probes are set into the slab following the ASTM F2170 method and left to equilibrate. Readings above roughly 80% RH call for a moisture-mitigating primer. On Charlotte properties with a history of dampness we do this at the estimate stage so it is priced in, not discovered mid-install.
Why it matters: Charlotte sits on Piedmont clay that holds water against foundations. Vapour driving up through the slab is one of the few forces strong enough to push a well-bonded coating off from underneath.
Repair cracks, joints, and spalls
45 minutes – 2 hours
Cracks are chased out into a V with a crack chaser, vacuumed clean, and filled with a rigid polyurea that cures hard enough to be ground flush. Spalled and pitted areas are patched and re-ground level. Control joints are either filled or honoured depending on the slab and the system.
Why it matters: Coating over an unrepaired crack telegraphs it straight through to the finished surface, usually within the first year. Filling before coating is the only way to make it disappear.
Vacuum to a dust-free surface
20 minutes
The entire slab is vacuumed with HEPA equipment, including corners, the door threshold, and any saw-cut joints. On a ground floor there is always residual dust in the profile that a broom will not lift.
Why it matters: Resin applied over dust bonds to the dust, not the concrete. It is the least glamorous step on this list and one of the easiest for a rushing crew to shortcut.
Apply primer or moisture-mitigating base
45 minutes
A penetrating epoxy primer on a dry slab, or a moisture-mitigating epoxy where the RH reading called for one. This layer soaks into the opened concrete and forms the bond line the rest of the system is built on.
Why it matters: On slabs with vapour activity, this is the layer standing between ground moisture and your finished floor. Skipping it to save $0.50–$0.75 per square foot is how a floor blisters in year two.
Roll the pigmented base coat
45 minutes
The coloured base — epoxy or polyaspartic depending on the system — is cut in at the edges, then rolled and back-rolled across the field to an even film thickness. Two people work it: one mixing to keep pace, one applying.
Why it matters: Even film build is what gives the floor its uniform colour and its abrasion resistance. Thin patches show as sheen variation later and wear through first.
Broadcast the flake to refusal
30 minutes
Vinyl chips are hand-broadcast into the wet base coat until the surface will not accept any more — that is what "to refusal" means. Thrown upward and allowed to fall, rather than tossed across, so the chips land flat and the coverage stays even.
Why it matters: Full-refusal broadcast is the difference between a consistent floor and a patchy one. Under-broadcasting is visible forever and cannot be corrected without recoating.
Scrape back and vacuum the excess
1 hour
Once the base has set, loose and proud chip is scraped off with a floor scraper and vacuumed away. This knocks down the sharp edges of the broadcast and creates the surface texture you actually walk on.
Why it matters: Skip it and the floor feels like sandpaper underfoot and is unpleasant to sweep. This step is the reason a professional flake floor has grip without being abrasive.
Apply the clear topcoat
1 hour
A UV-stable polyaspartic or polyurethane clear coat over the entire floor, cut in at the edges first. Anti-slip additive is broadcast into this layer if the floor needs extra grip. This is the layer that takes all the wear.
Why it matters: The topcoat determines chemical resistance, cleanability, hot-tyre resistance, and whether the floor ambers in the sunlight at the door line. It is also the layer you refresh in year 10 rather than replacing the whole system.
Cure, inspect, and hand over
4 hours – 7 days
Masking comes off, the site is cleaned, and we walk the floor with you. Light foot traffic at 4–6 hours on a polyaspartic system, storage back the next morning, vehicles at 24 hours, full chemical resistance at 5–7 days. The written warranty document is handed over at this point.
Why it matters: Most damage to brand new floors happens in this window. A vehicle parked on a coating that has not reached load strength can leave a permanent tyre impression in an otherwise perfect install.
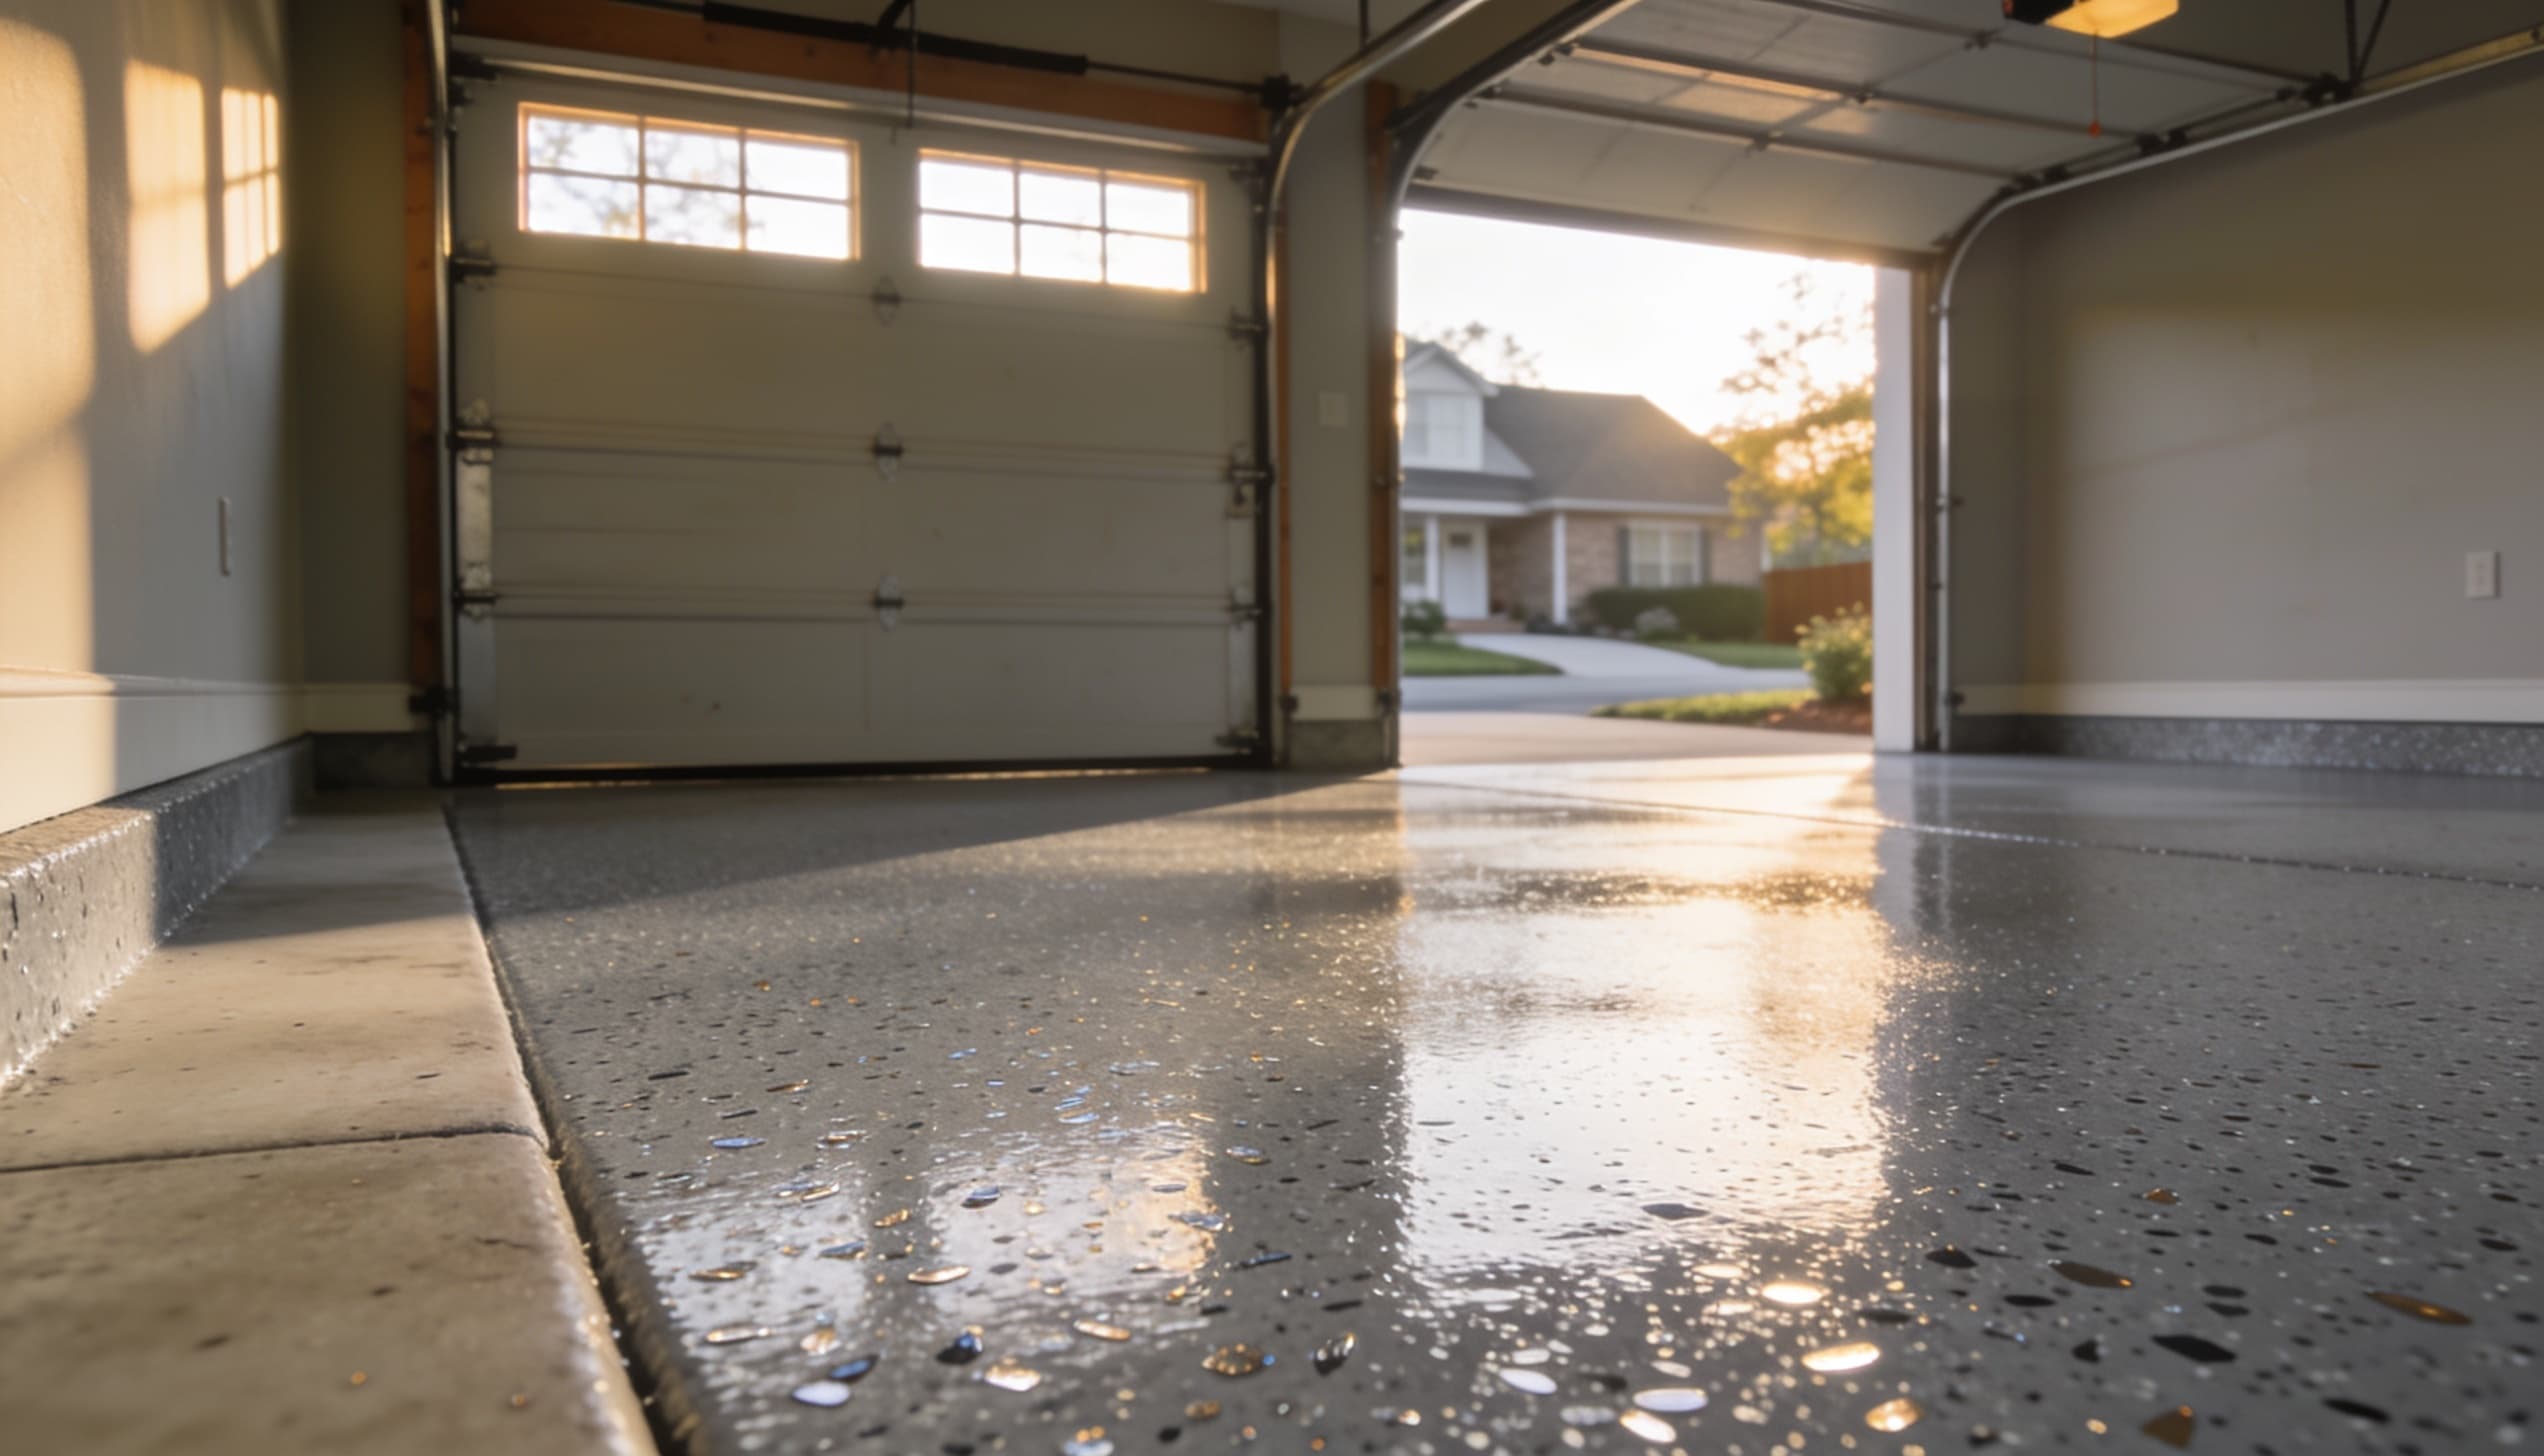
The finished result — every visible quality in this floor was determined by the eight steps that happened before any colour went down
Why Roughly 70% of the Work Happens Before the Coating
Count the hours in the list above and the pattern is obvious. Grinding, moisture testing, crack repair, and vacuuming take up most of the labour on a job. The coating itself goes down comparatively fast. Homeowners comparing quotes often assume they are buying resin, when what actually separates a $1,200 quote from a $3,200 quote is almost always how much preparation is included.
This is also why the questions worth asking a contractor are prep questions. Do you diamond grind or acid etch? Do you test slab moisture before quoting? What do you do with existing cracks? How many mils is the finished system? A contractor who answers those precisely is quoting a different product from one who leads with brand names and colour charts.
If a quote is dramatically cheaper than the others you have, the gap is not being made up in resin savings. It is coming out of steps two through five on this list — and those are exactly the steps whose absence you will not be able to see on handover day, only in year two.
Every quote we write specifies the prep, the system, and the film build — so you can compare it against anyone else's line by line. Free on-site assessment across the Charlotte metro.
Get Free EstimateFrequently Asked Questions
Related Guides
Share this guide: