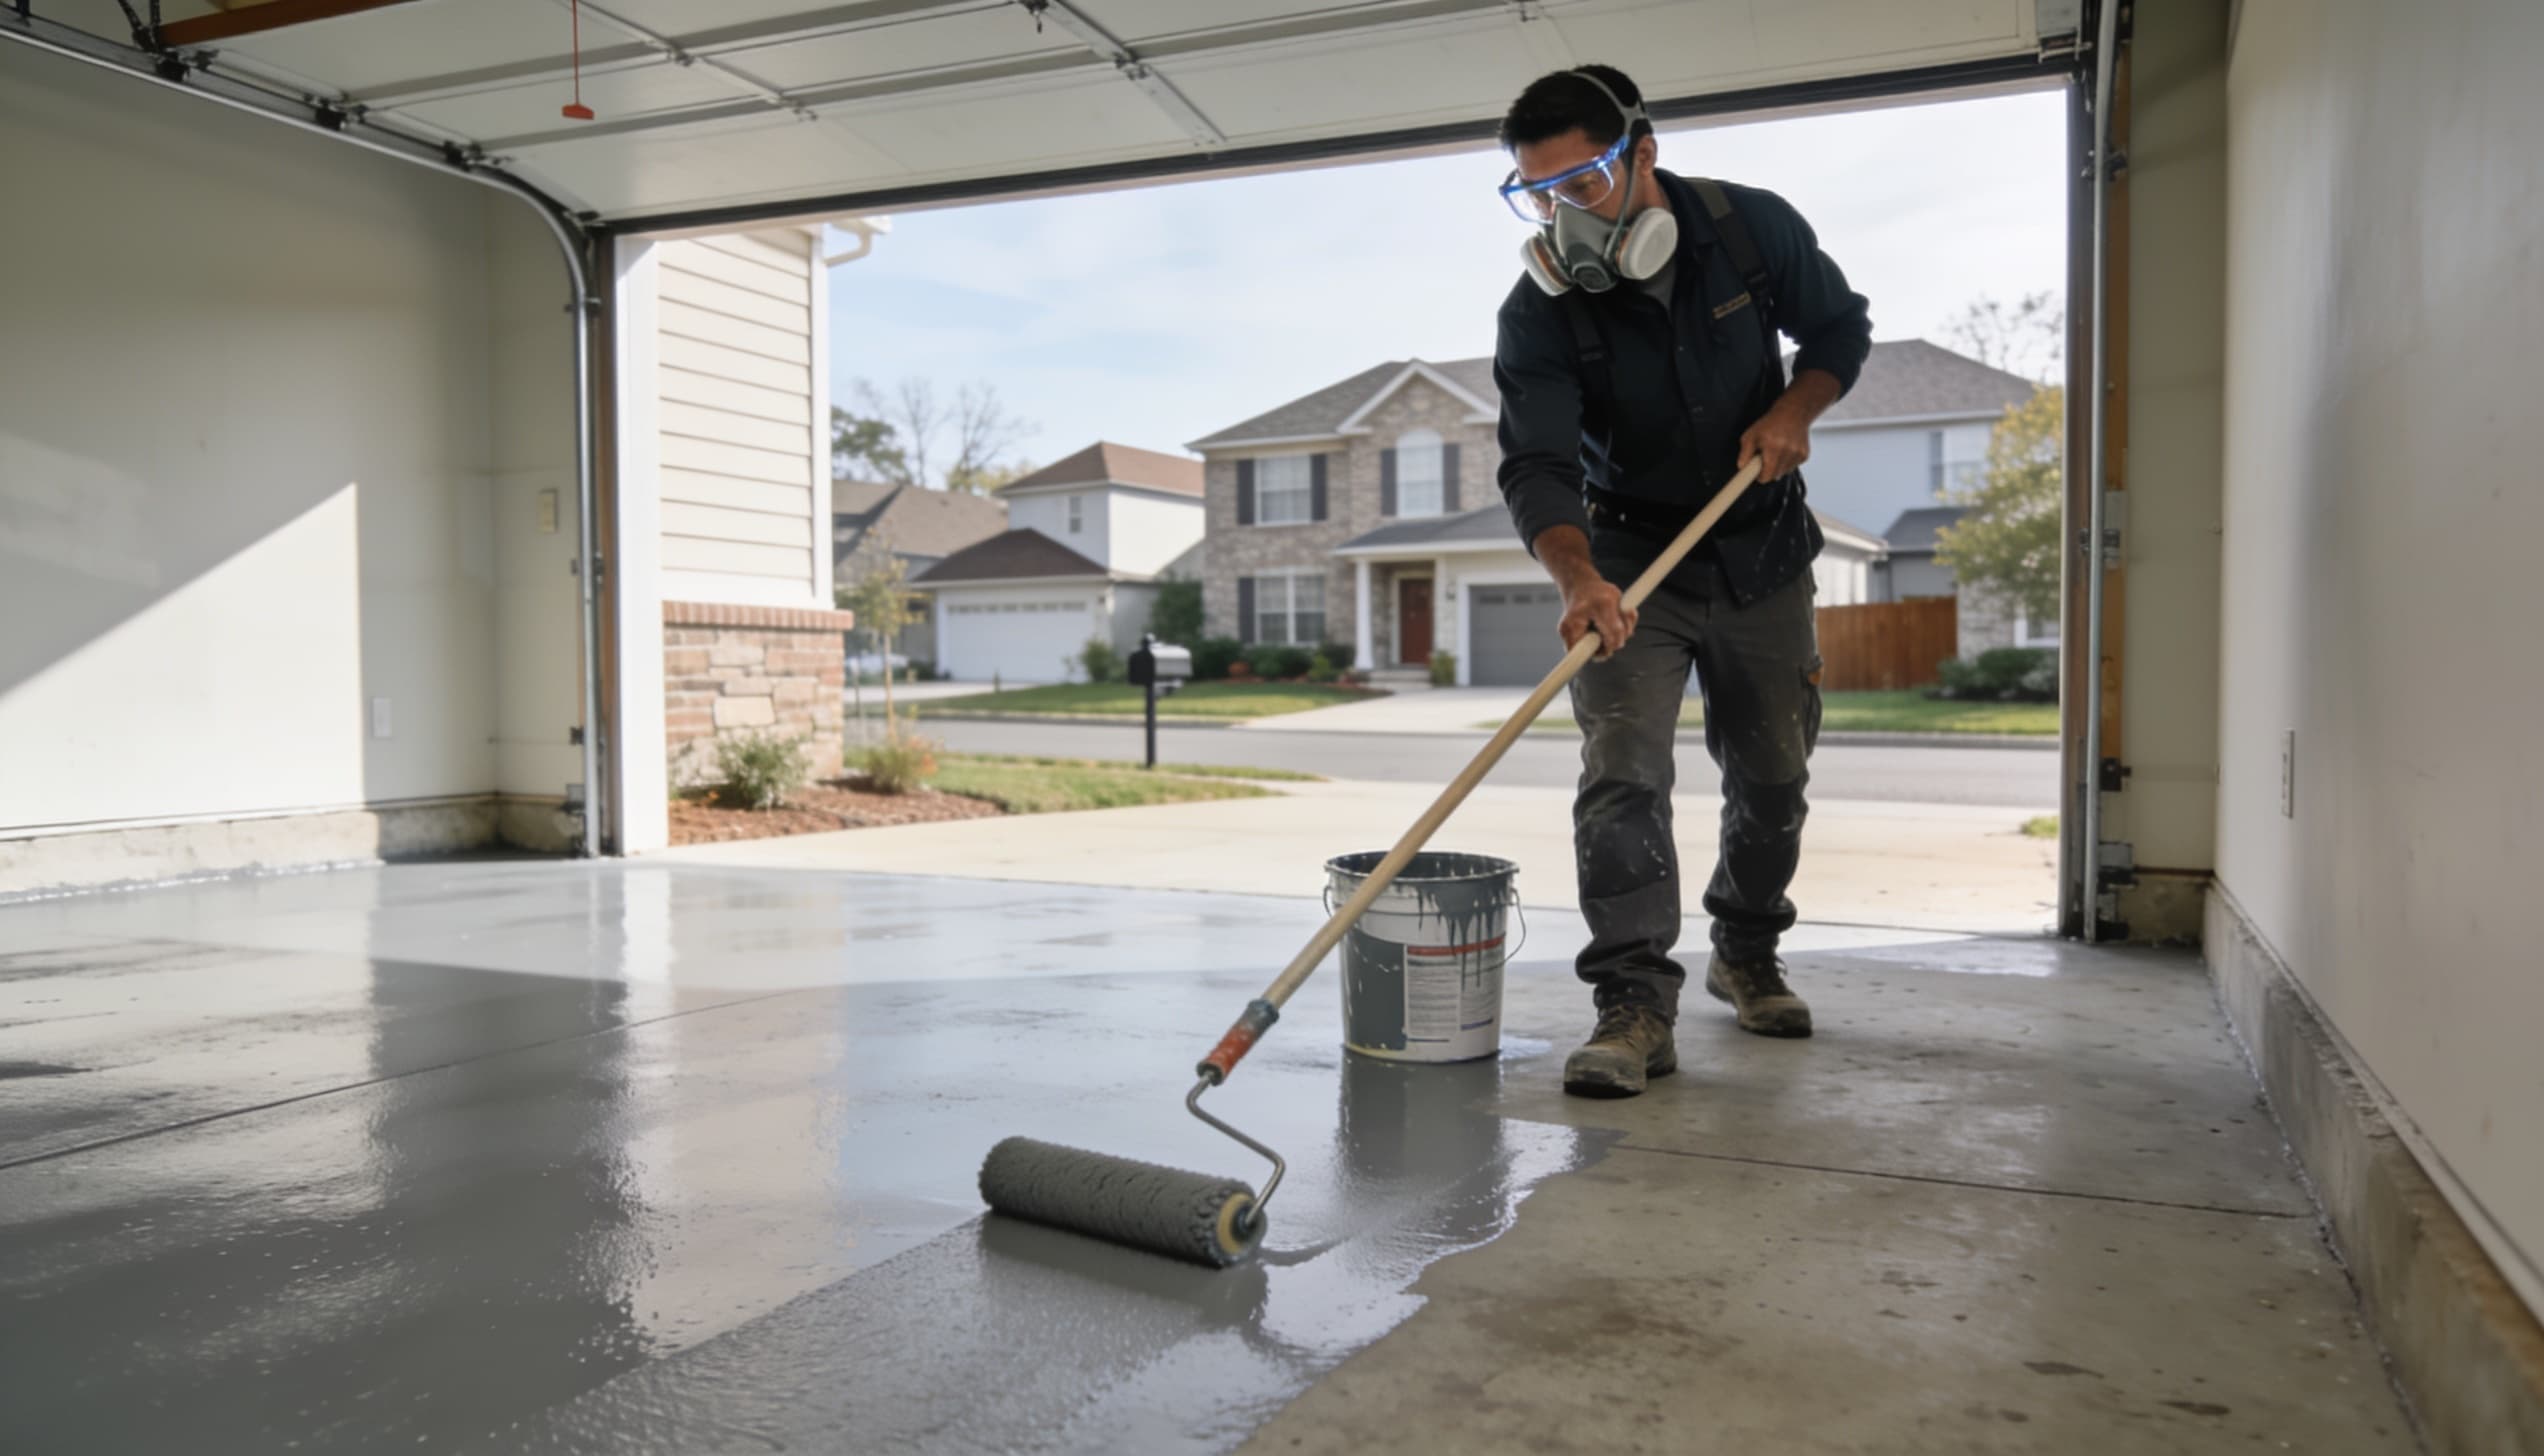
A 1-day garage floor coating uses polyaspartic chemistry that re-coats in 1–3 hours instead of epoxy's 12–24, which fits grinding, repair, base coat, flake broadcast, and topcoat into a single working day — roughly 7am to 4pm for a two-car garage. It costs $7–$12/sqft ($3,500–$6,000 for most two-car garages). You walk on it the same evening and park on it after 24 hours — not the same night, whatever anyone tells you.
Hour by Hour: A Real Charlotte 1-Day Install
Arrival and clear-out
Crew arrives, remaining items moved out of the garage, walls and door frames masked. If you have not emptied the garage the night before, this is where the schedule starts slipping — it is the one part of the day you control.
Diamond grinding
Vacuum-shrouded grinders take the slab down to a clean, open profile. This is the loudest stage and the one that decides whether the floor lasts. Dust is captured at the machine, not swept up afterwards.
Crack and spall repair
Cracks chased out, vacuumed, and filled with rigid polyurea. Spalled areas patched and re-ground flush. Polyurea repair material is chosen specifically because it cures fast enough to keep the day on schedule.
Base coat
Pigmented polyaspartic base rolled and back-rolled across the slab. On a 450 sqft garage this moves quickly — the material has a working time measured in minutes, so the crew splits into mixing and application roles.
Flake broadcast
Vinyl chips broadcast to refusal into the wet base coat by hand. Broadcasting to refusal means throwing chip until the surface will not accept any more — it is what produces an even, full-coverage finish rather than a patchy one.
Scrape back and vacuum
Once the base has set, loose chip is scraped off and vacuumed. This is the step that makes the floor smooth enough to walk on comfortably, and it is the one most often skimped on.
Clear topcoat
UV-stable polyaspartic clear coat over the whole floor, cutting in at the edges first. Anti-slip additive goes in here if specified.
Cure, walkthrough, clean-up
Masking removed, site cleaned, walkthrough with you covering care instructions and the written warranty. Floor is left to cure with the door open where weather allows.
Times are for a standard two-car garage of roughly 450 sqft in good condition. A three-car garage adds 2–3 hours. A slab needing extensive spall repair can add half a day — which is the honest reason a reputable contractor will sometimes tell you your garage is not a 1-day job.
What “Done in a Day” Actually Means — The Cure Schedule
| After | What you can do |
|---|---|
| Same evening (~4–6 hrs) | Light foot traffic. You can walk on it in socks or soft shoes. |
| Next morning (~18 hrs) | Storage items, shelving, and light furniture back in place. |
| 24 hours | Park a vehicle on it. This is the real gate — not the same evening. |
| 5–7 days | Full chemical resistance. Wait this long before washing with anything stronger than water. |
The claim to be sceptical of:“park on it the same night.” Polyaspartic is walkable within hours, but a vehicle concentrates its weight through four contact patches, and hot tyres arriving on a coating that has not reached full hardness is how you get an impression in a brand new floor. We hold every install to 24 hours before vehicles, and it costs us nothing to say so.
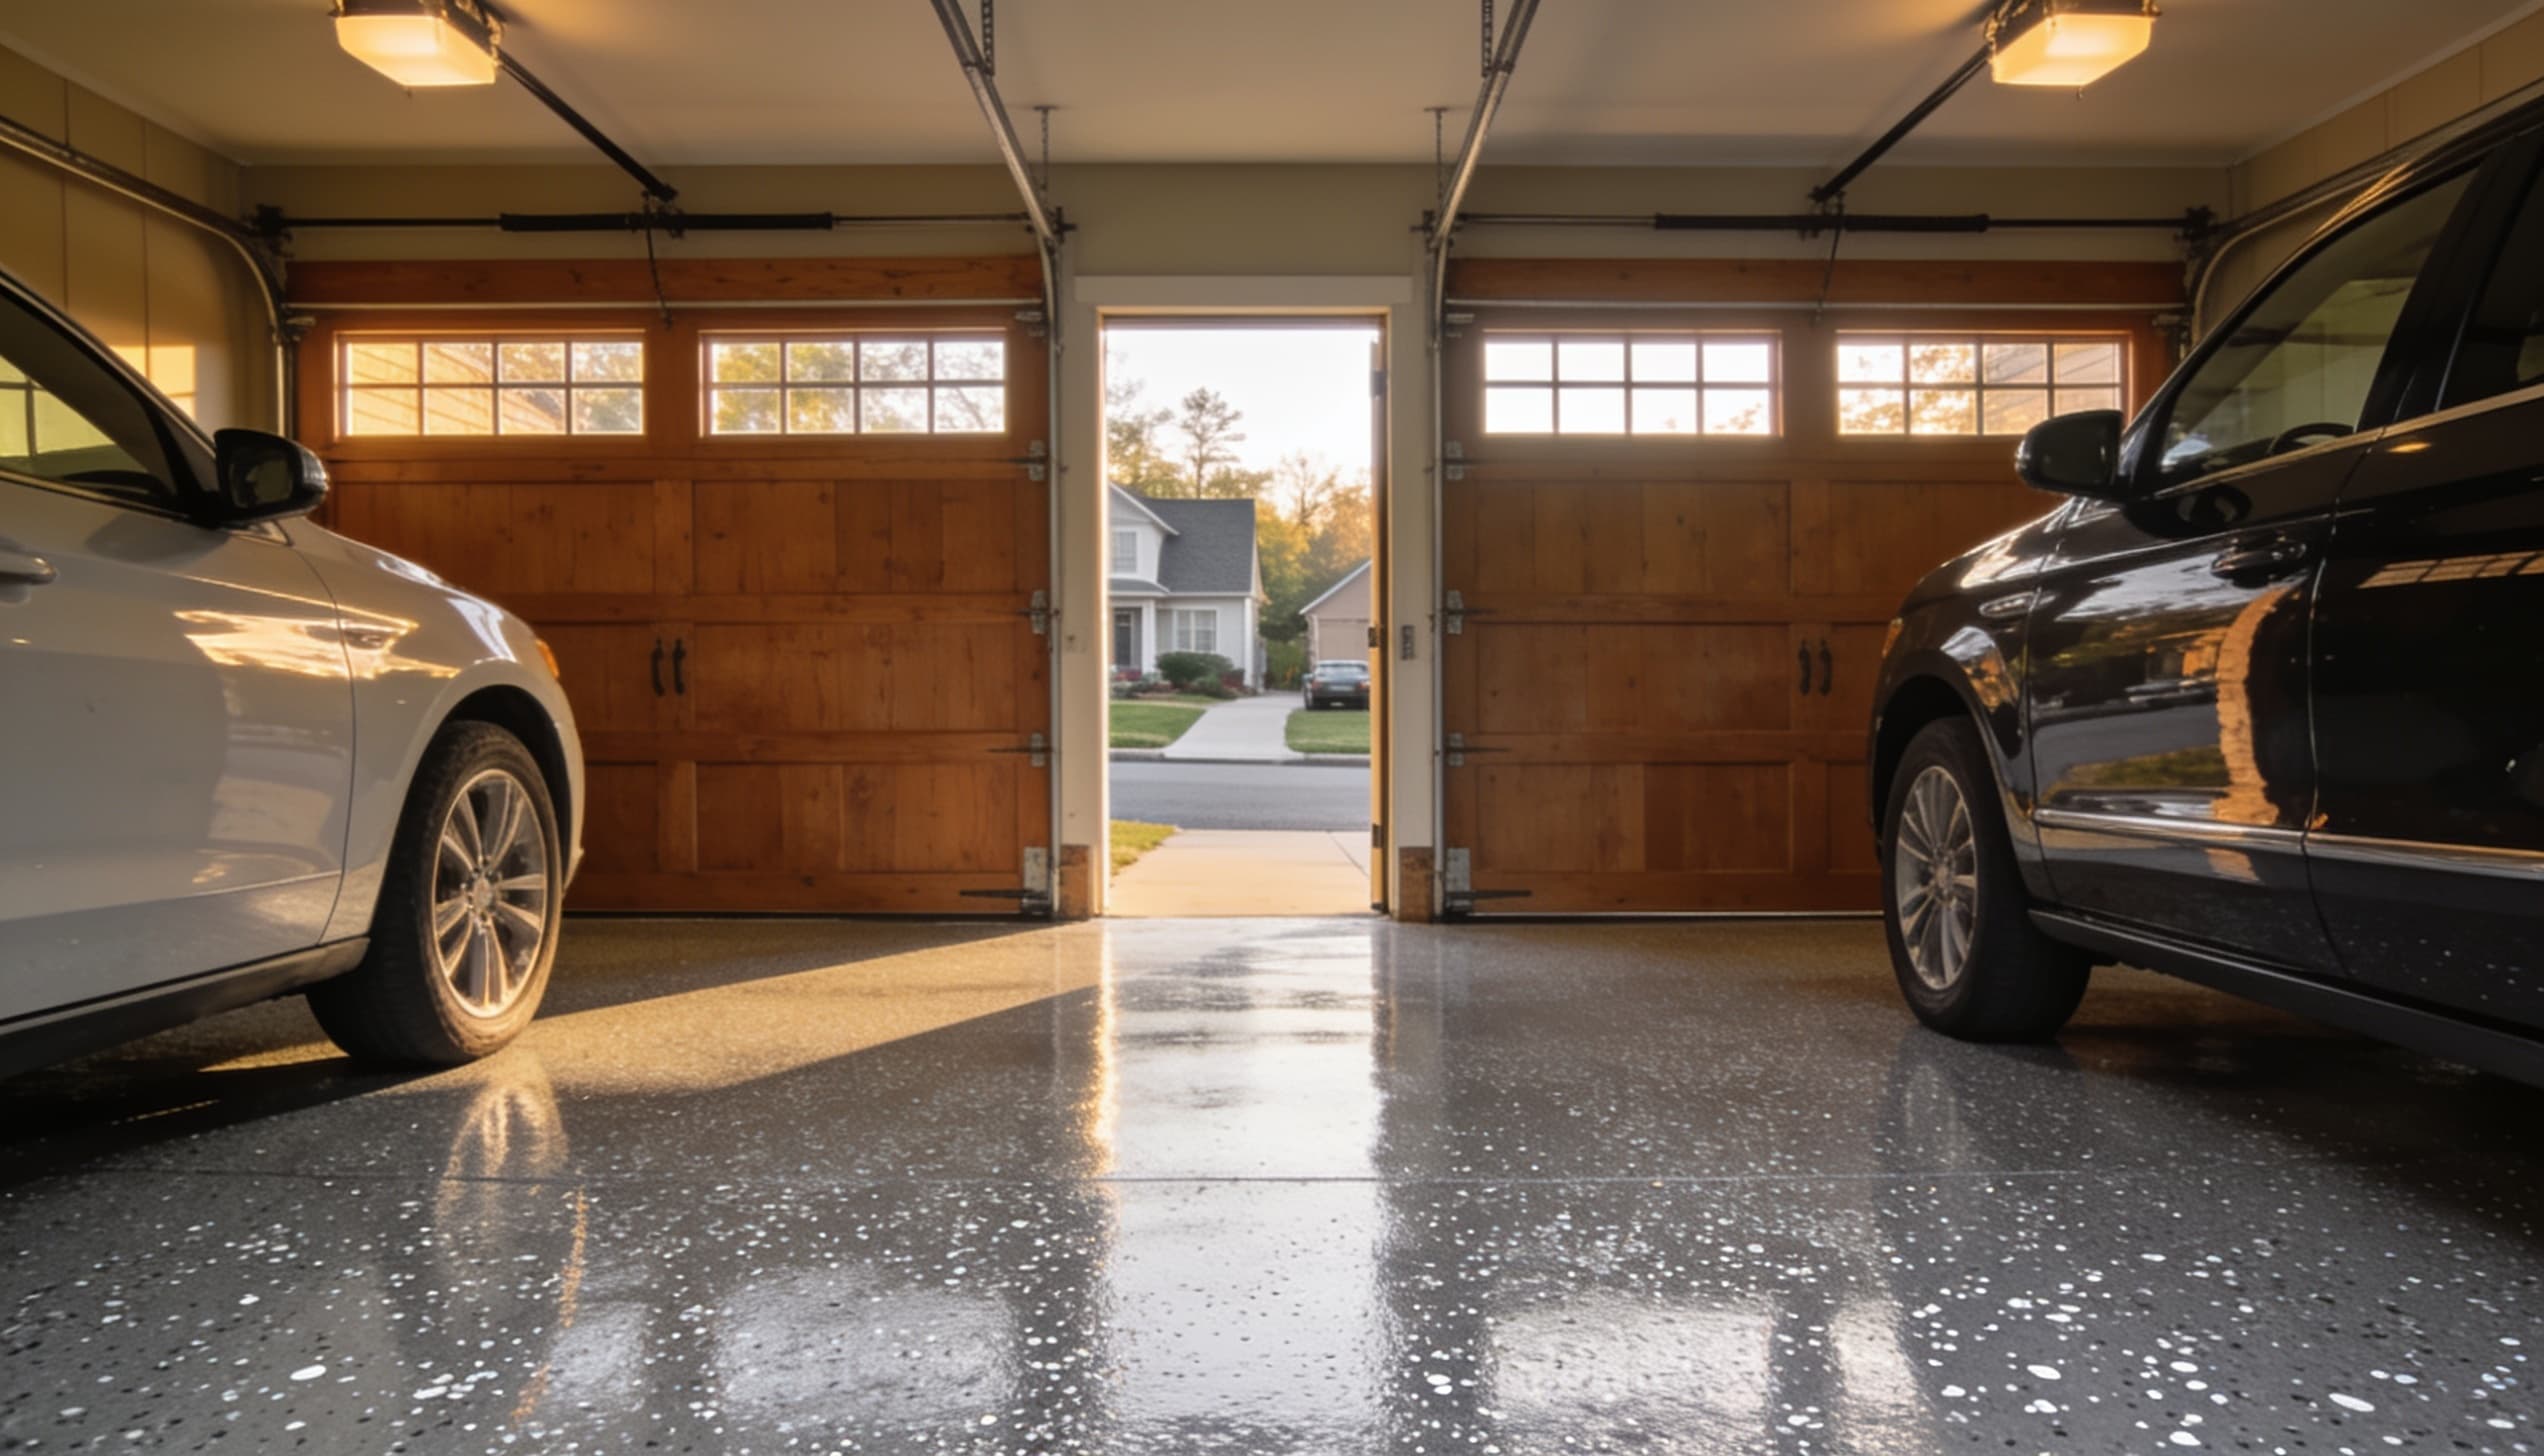
The morning after a Charlotte metro 1-day install — vehicles back in, roughly 24 hours after the topcoat went down
Why Polyaspartic Can Do This and Epoxy Cannot
The whole difference is re-coat window. A standard epoxy base coat needs 12–24 hours before it will accept the next layer at Charlotte temperatures, which mathematically forces a two-day install no matter how large your crew is. Polyaspartic re-coats in 1–3 hours. Same prep, same flake, same sequence — the waiting is what disappears.
That speed comes with a working constraint: polyaspartic has a pot life measured in minutes rather than the better part of an hour. Once it is mixed, the clock is genuinely unforgiving, especially in a Charlotte July when ambient heat accelerates everything. This is why 1-day systems are a professional product. A homeowner working alone from a bucket will have material gelling in the pan before half the floor is covered.
Two further advantages worth knowing: polyaspartic is UV-stable, so it will not amber in the strip of floor that gets direct sun through an open garage door — a very common complaint with standard epoxy in Charlotte. And it cures reliably in cold, down to around 0°F, so a January install in an unheated garage is not a gamble the way epoxy can be.
Is the 1-Day Premium Worth It?
✓ You cannot lose the garage for two days
Single-vehicle households, work vans, no driveway to park on. The schedule is the product.
✓ Direct sun reaches the floor
UV stability stops the ambering that standard epoxy shows at the door line.
✓ Winter or peak-summer install
Cures reliably in cold and handles Charlotte humidity better than epoxy.
✓ You want maximum service life
15–20 years versus 10–15 for flake epoxy.
✕ Budget is the binding constraint
Flake epoxy at $5–$8/sqft gives you most of the performance for meaningfully less.
✕ The garage is empty anyway
If losing the space for two days costs you nothing, you are paying for speed you will not use.
How to Prepare for Install Day
Empty the garage the night before — everything, including wall-hung items low enough to be hit by grinding dust. Park both vehicles on the street or driveway for the day and overnight. Make sure we can reach a standard exterior outlet, and leave a hose bib accessible. If you have a garage refrigerator or freezer, plan for it to be unplugged and moved; that is the item that most often gets forgotten and stalls the morning.
You do not need to be home all day, but be available at the start for the walkthrough and at the end for the handover, when we go through care instructions and the written warranty document.
Want to know whether your garage is genuinely a 1-day job? That depends on the slab, not the sales pitch. Free on-site assessment across the Charlotte metro — we check the concrete and tell you straight.
Get Free EstimateFrequently Asked Questions
Related Guides
Share this guide: