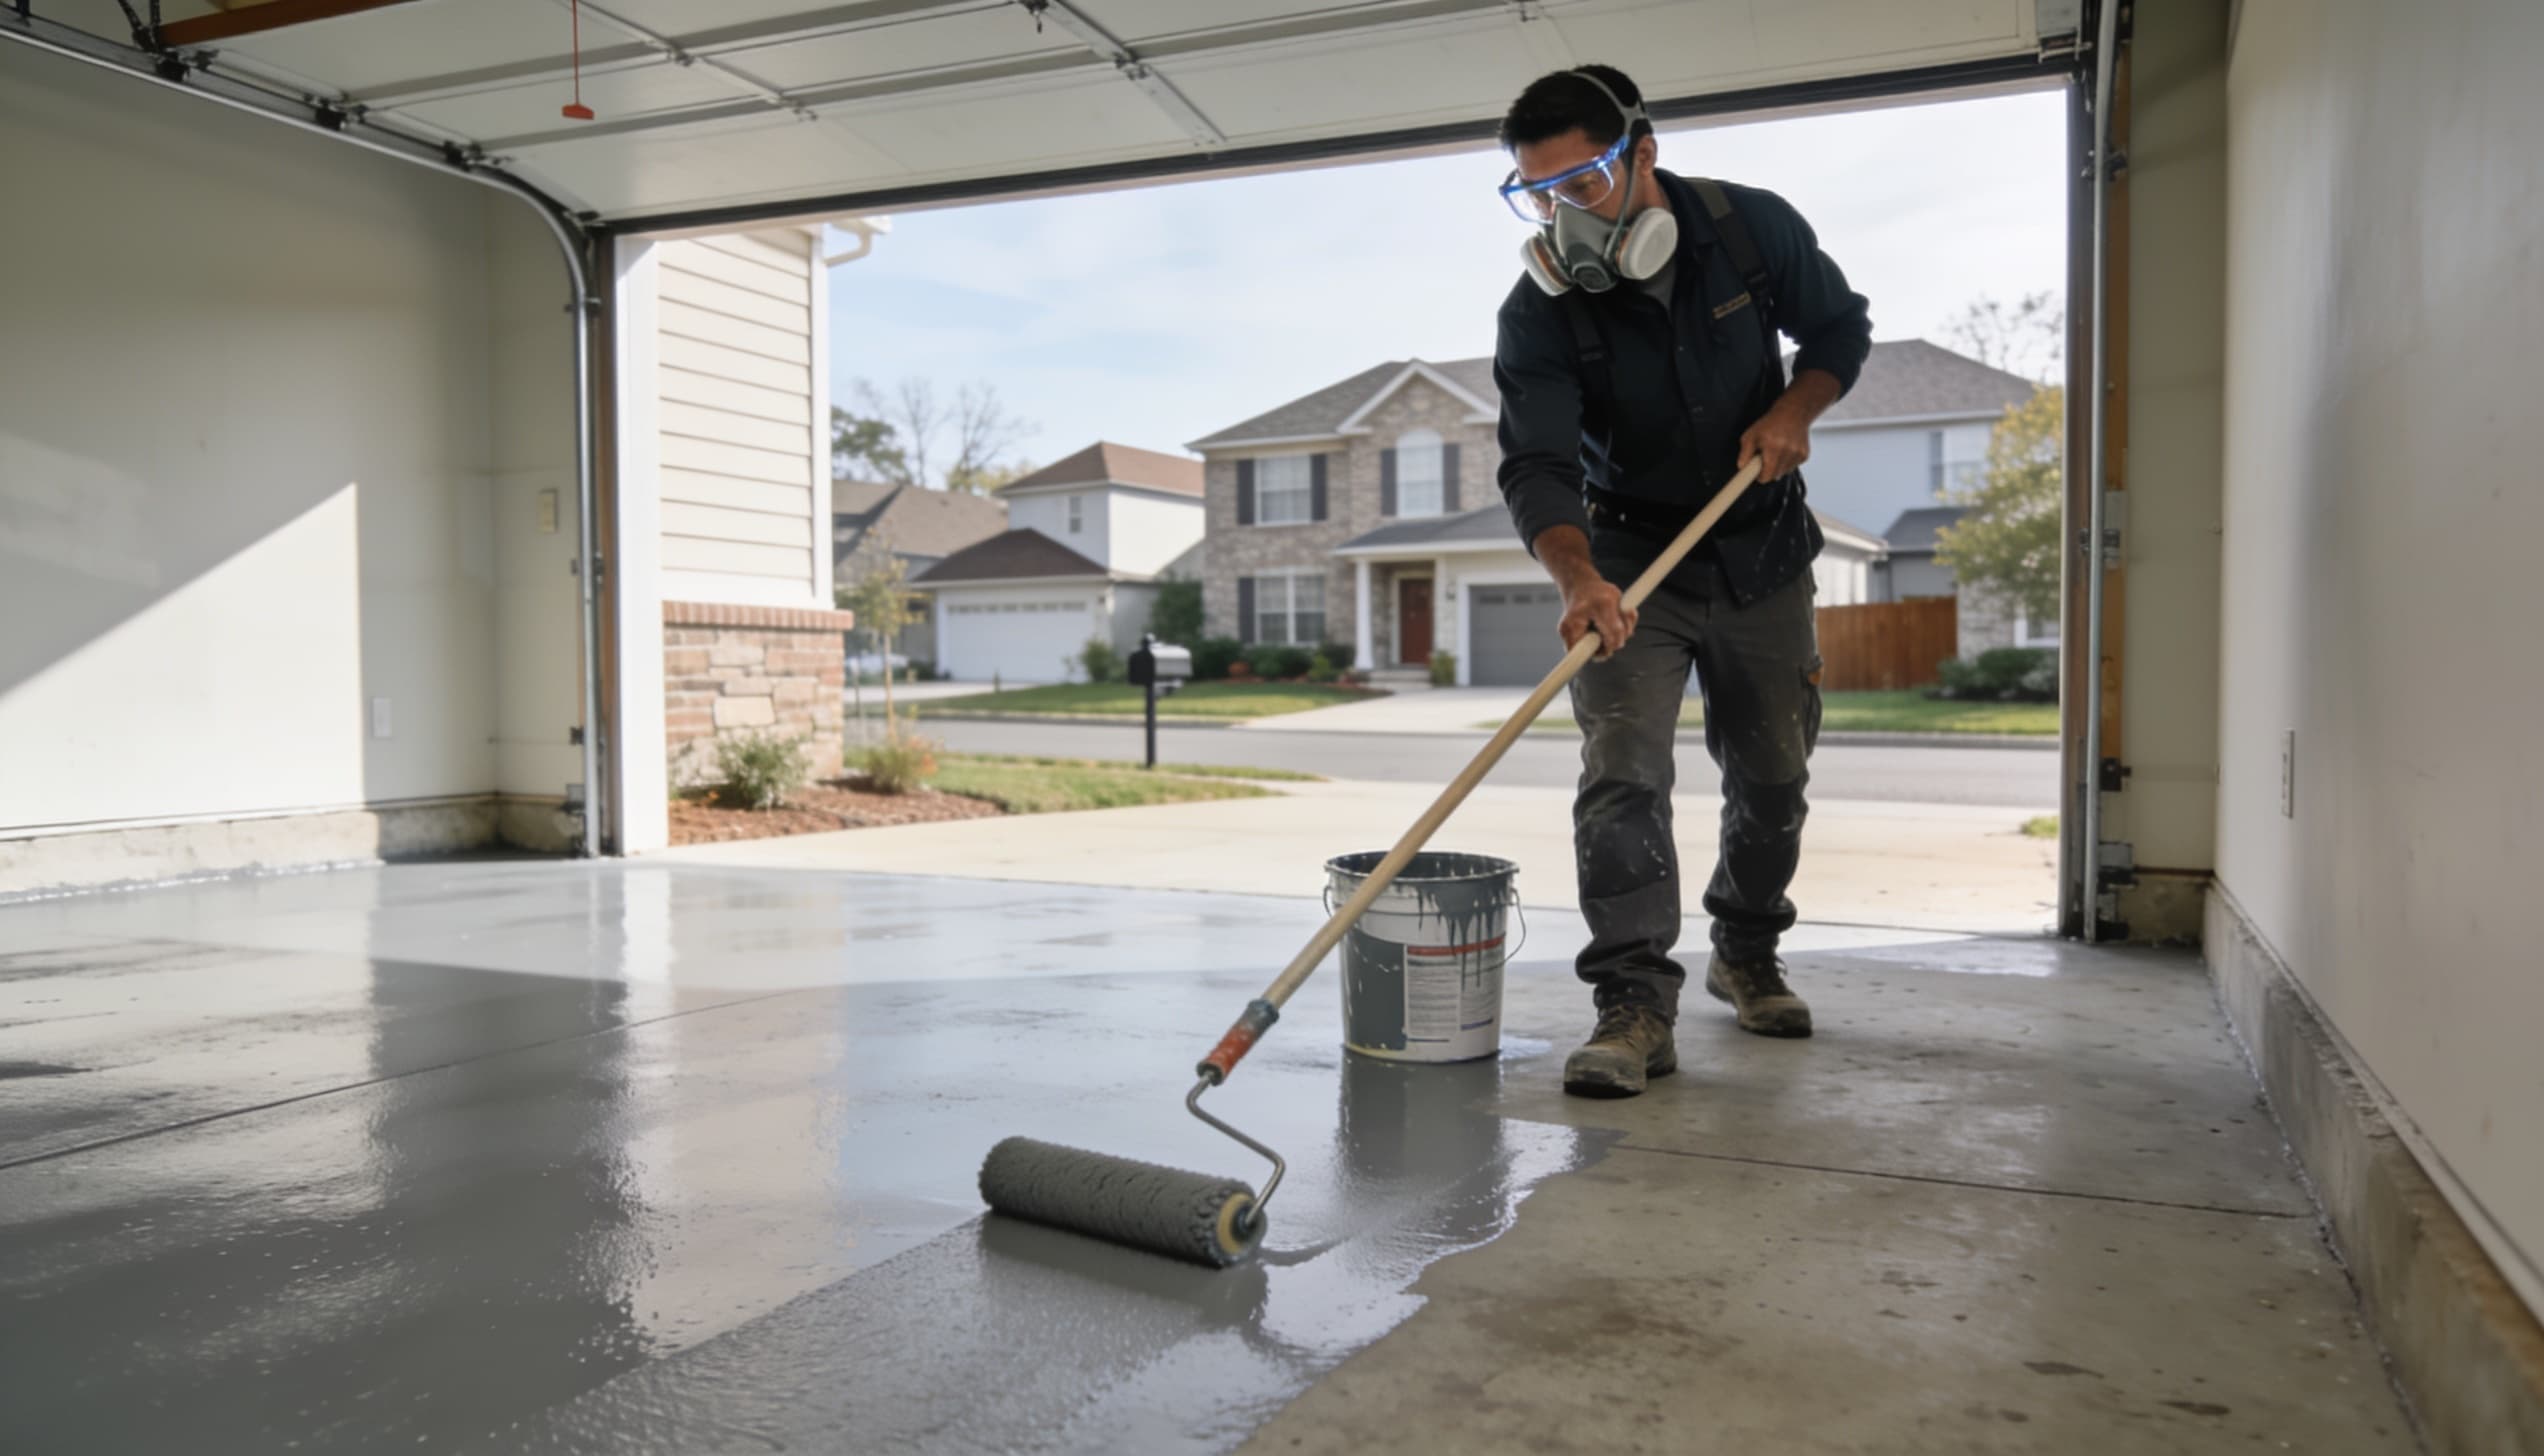
A DIY epoxy kit costs $300–$750 for a two-car garage and typically lasts 1–3 years. Professional installation costs $2,500–$4,000 and lasts 10–15 years. Once you add the $450–$900 it costs to grind a failed DIY coating off before recoating, the ten-year cost of the cheap option is usually higher than doing it once, properly. The difference is not the epoxy — it is the preparation underneath it.
True Cost Comparison — 450 sqft Charlotte Garage
| DIY Kit | Professional | |
|---|---|---|
| Coating material | $150–$400 kit | Included |
| Surface prep | $40 acid etch + scrubbing | Diamond grinding, included |
| Tools & rentals | $150–$350 | Included |
| Crack / spall repair | Not included | Included on most quotes |
| Your labour | 12–20 hours | None |
| Upfront total (450 sqft) | $300–$750 | $2,500–$4,000 |
| Realistic lifespan | 1–3 years | 10–15 years |
| Removal cost at failure | $450–$900 | N/A |
| 10-year cost of ownership | $3,150–$6,000+ | $2,500–$4,000 |
DIY ten-year figure assumes one kit redo plus one professional install after failure. Charlotte metro pricing, USD. See the full cost guide for system-by-system numbers.
The Real Difference Is Everything That Happens Before the Coating
Buy a kit and you get a bucket of resin, a bag of chips, and a packet of acid etch. What you do not get is the part the outcome actually depends on. Roughly 70% of the labour hours on a professional floor happen before any coating is opened: diamond grinding the slab, chasing and filling cracks, grinding out spalled areas and patching them, cutting a keyed edge at the door threshold so the coating terminates cleanly, and vacuuming the surface to a dust-free state.
Diamond grinding is the step that cannot be substituted. It removes the weak laitance layer at the surface of the concrete and opens the pores so the resin can penetrate and lock in mechanically. Acid etch — the only prep a consumer kit provides for — does none of that on a hard-troweled garage slab, which is exactly the kind of slab most Charlotte homes have.
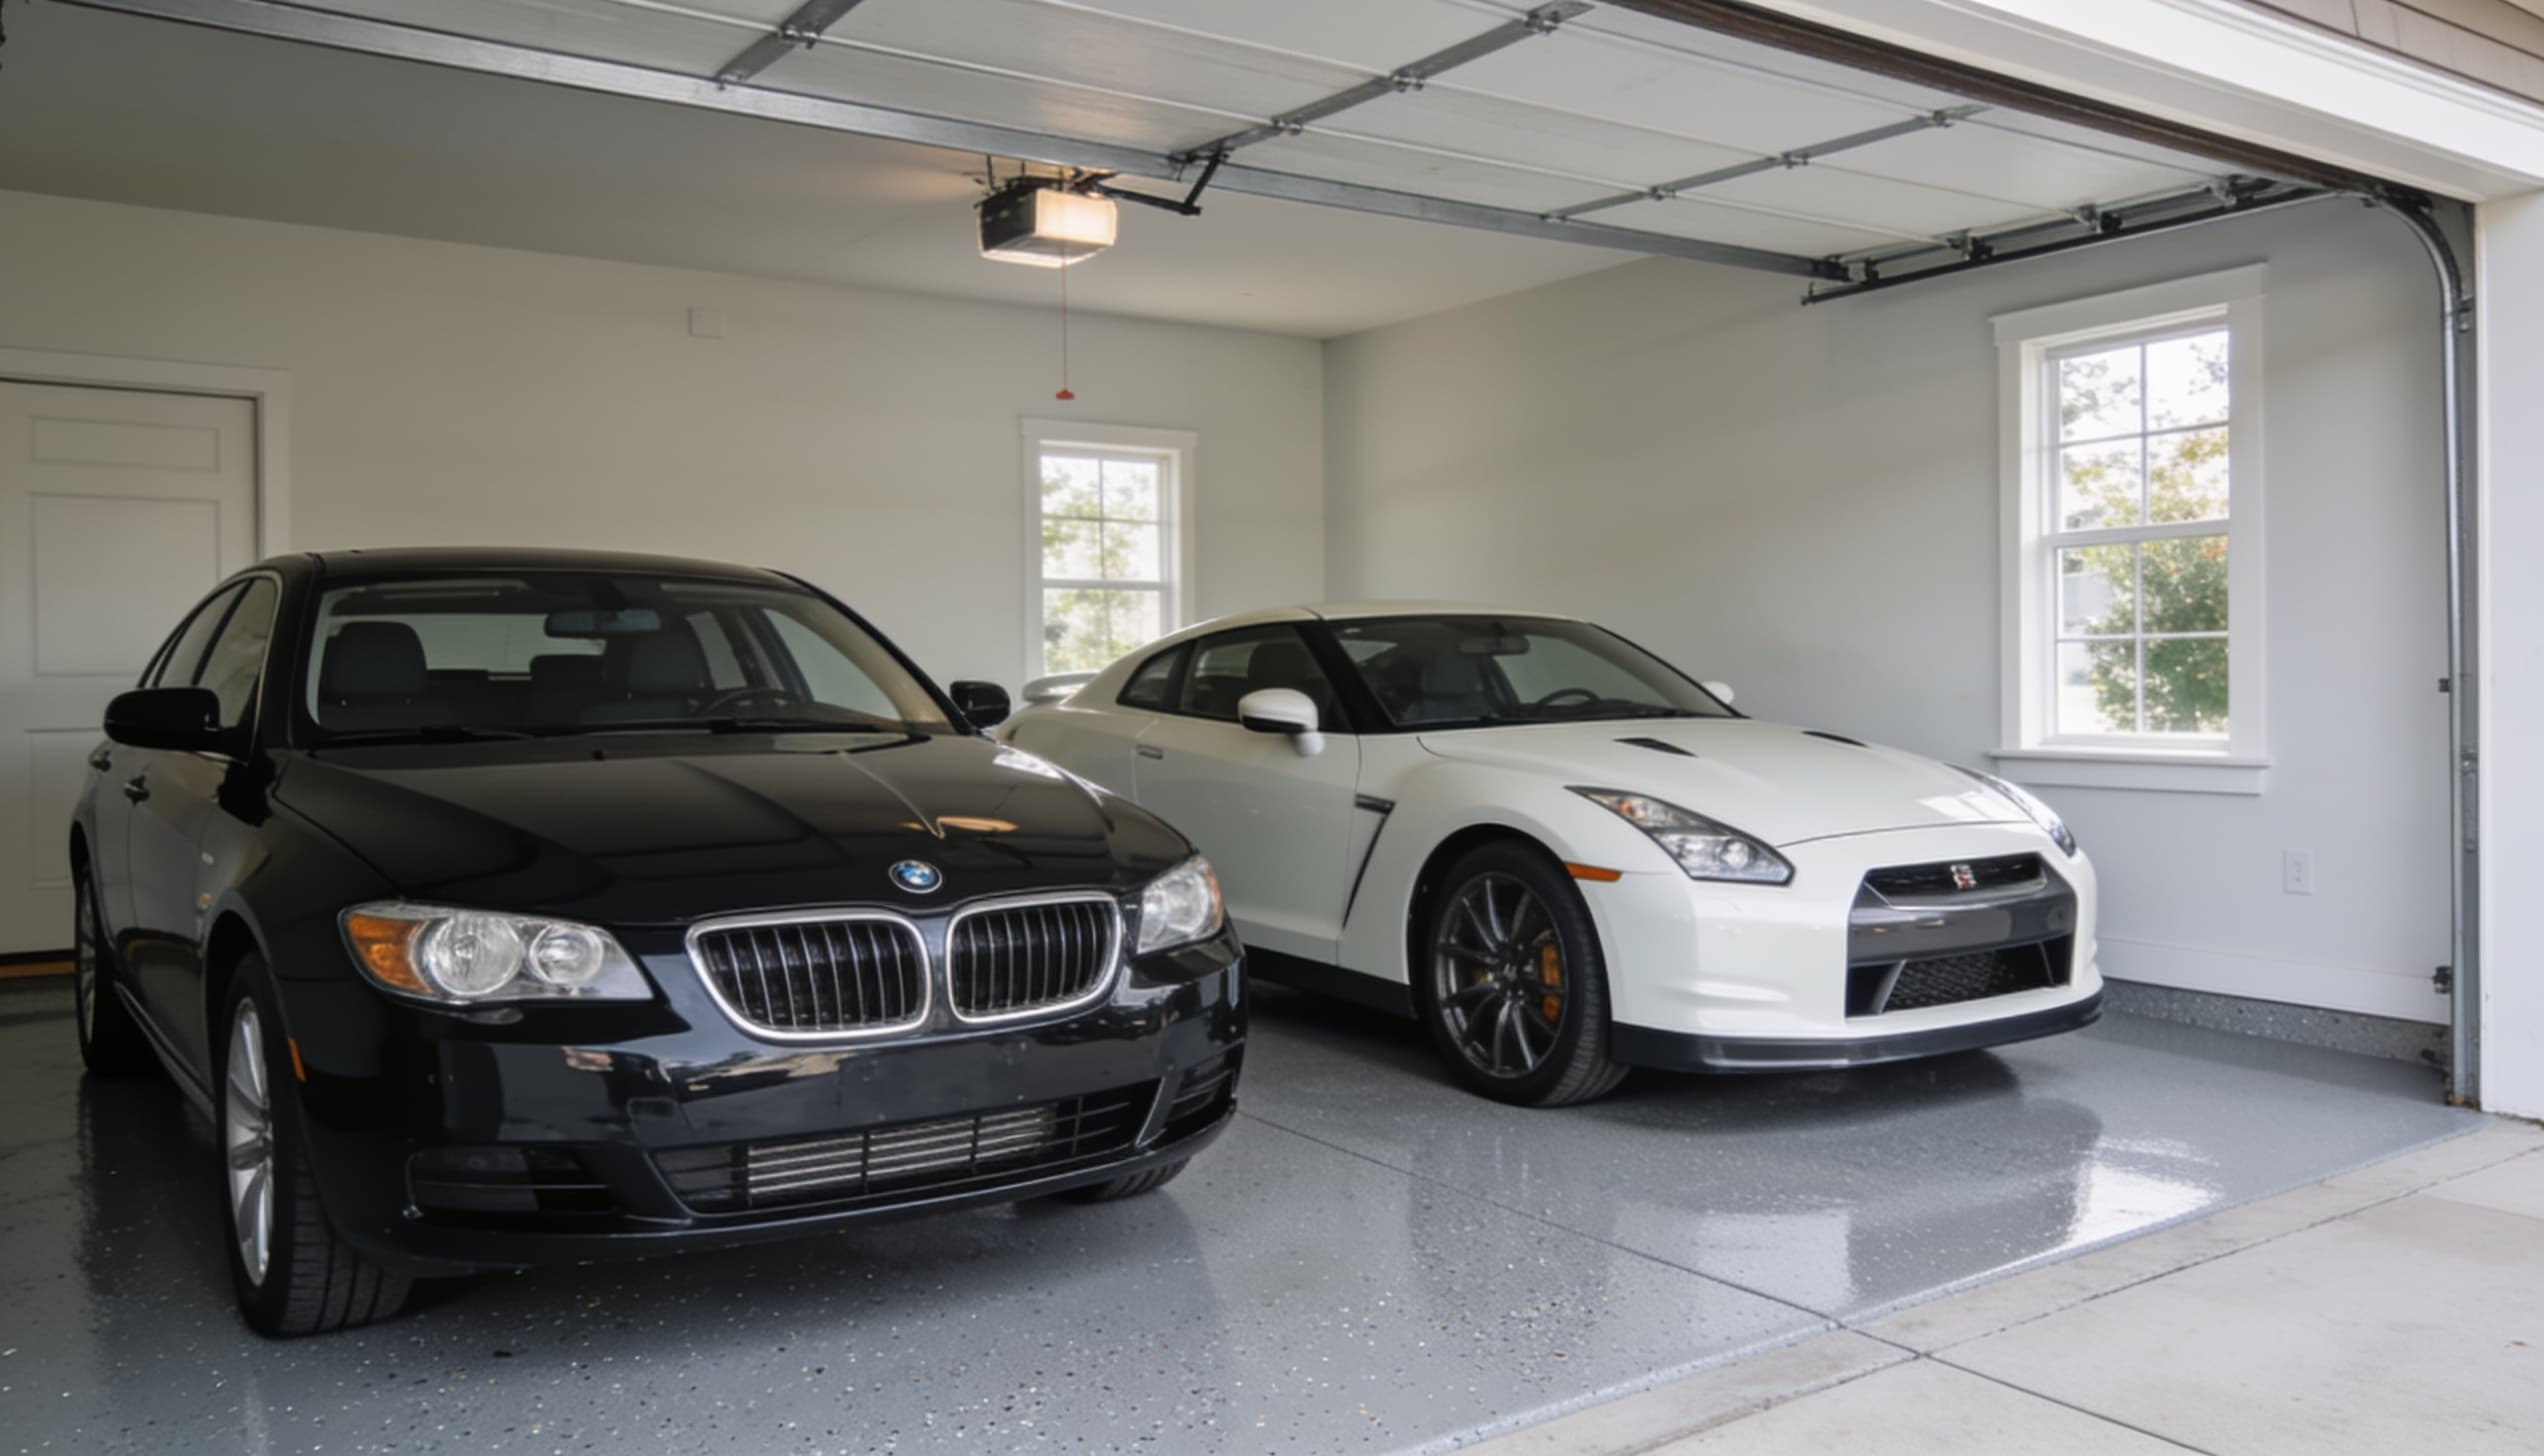
The result of that prep — a professionally installed system in a Charlotte metro garage, 20–40 mils of build over a diamond-ground slab, back in service under vehicles
Five Ways DIY Kits Fail — What We Find When We Grind Them Off
Etch instead of grind
Acid etching leaves a chemically cleaned but mechanically smooth surface. The coating sits on top rather than keying in, and the first hot tyre or dragged toolbox lifts it. This is the cause in the clear majority of failed DIY floors we strip in Charlotte.
Moisture never tested
Charlotte sits on clay soil that holds water against the slab. Vapour drives up through the concrete and pushes the coating off from underneath. A professional install tests relative humidity in the slab first and primes with a moisture-mitigating epoxy when the reading calls for it. No consumer kit includes that step.
Coating applied too thin
A 2–3 mil water-based film has no build to absorb abrasion. It wears through at the tyre paths and door threshold within a season or two, and once the film is breached, water gets under the remaining coating.
Pot life misjudged
Two-part epoxy starts curing the moment it is mixed, and Charlotte summer heat shortens that window sharply. A first-timer working a 450 sqft floor in July frequently ends up rolling material that has already started to gel, which leaves roller lap marks and soft spots.
No topcoat, or the wrong one
Most kits are a single product with no separate clear layer. Without a UV-stable polyaspartic or polyurethane topcoat, the epoxy ambers where sunlight reaches through the garage door opening — usually visible within the first year.
When a DIY Kit Is Actually the Right Call
✓ Storage shed or workshop floor
No vehicle traffic, low expectations, and a short service life is acceptable.
✓ Short-term rental prep
You need the floor to look clean for a season, not a decade.
✓ A space you plan to renovate soon
No sense investing in a permanent floor you will demolish in two years.
✕ Any garage cars park in
Hot tyre pickup lifts thin coatings. This is the number one DIY failure we see in Charlotte.
✕ Basements on Charlotte clay
Vapour drive through the slab needs testing and a moisture-mitigating primer no kit includes.
✕ A floor you want to look good in 10 years
Film build and topcoat chemistry decide that, and kits have neither.
What the Extra $2,000 Actually Buys
Commercial-grade material at ten times the film thickness. Diamond grinding equipment that costs more than the truck it rides in. Slab moisture testing before anything is applied. Crack and spall repair. A UV-stable polyaspartic topcoat rated for hot-tyre contact. A crew that has laid this system hundreds of times and knows how Charlotte humidity affects cure windows in August. And a written warranty with a company you can call, which is the one thing a big-box kit structurally cannot offer.
It is worth being blunt about the other side too: if your slab is in good condition, you have realistic expectations, and the space is low-traffic, a careful DIY job with a quality kit can look decent for a couple of years. We would rather tell you that than sell you something you do not need.
Already have a DIY coating that is lifting? We remove failed coatings and re-coat properly across the Charlotte metro. Free assessment — we will tell you honestly whether the existing floor can be saved or needs to come off.
Get Free EstimateFrequently Asked Questions
Related Guides
Share this guide: